So recently I decided that I wanted to try my hand at dying fabric. You know what this means: time for a trip to the salvation army for cheap materials! While there I found a couple 100% wool coats (for someone much larger and taller than I was) for $4 and $6. Well, I figured that I'd botch the dye job at least once, so why not buy them both, right?
Miracle of miracles! The first jacket dyed perfectly. It's now ready to be hacked up into a costume.
So what about the other coat? The woman who runs our salvation army promptly stopped speaking to me once I told her my plans for said coat, so bringing it back was out of the question. It had to become a new project.
Well, lo and behold: A laptop tote! Now I can stop storing my laptop in a lunchbox!
 |
| The Outside! |
 | |
| The Inside! Not terribly pretty, but effective! |
So if you happen to have an old coat lying around and want to turn it into something neat, you should give this a try! (Or you can buy actual fabric if you want. I won't judge you.)
Things I used:
»Needle
»Thread
»Sewing Machine
»Scissors
»Straight Pins
»Rules
»Tailors Chalk
»Seam Ripper
»A Large Mens Jacket (or fabric of your choosing)
» 6 Buttons from the Jacket (or from wherever)
Now, with the exception of the jacket, I had everything I needed on hand. Of course this kept my cost down to $6 for this project. However, if you don't have your sewing basics then this project might rack up a considerable debt for you.
The other thing you might need (and I will reference this a lot) is this PDF I mocked up of how I wanted my tote to be assembled.
You can download it »HERE«
On this PDF I've labeled the pieces that you'll have to draw as pieces A-E. Hopefully this will help you and not confuse you.
So, in order to make this laptop bag there are some sets of measurements that you'll have to keep track of. You may want to write them down.
First you are going to need your 'x' and 'y' measurements, which will be the length and width of your laptop.
To take your measurement for 'x' lay your ruler like so:
 |
| 'X' Value |
If you need to, round to the nearest quarter of an inch for ease of use.
Now take your 'y' measurement by laying your ruler in the other direction.:
 |
| 'Y' Value |
At this point I wrote down those measurements and did all the math I was going to need. (IE: x+1, y+1, et cetera) I wrote them all down on a sticky note to keep on hand. My measurements were as follows:
 | ||
| My computer is tiny! |
Having it all written down like that just made everything easier for me.
Next I disassembled my jacket into its body and sleeves:
 |
| Jacket pieces |
So, you've got your measurements and your materials. Go ahead and cut out all the pieces that you need!
 |
| 1 of A, 2 of B, 4 of C, 2 of D |
I went ahead and applied fuseable interfacing to all of my pieces to prevent stretching, but it's not a necessary step.
So first thing is first! Fold your edges over and pin them down on piece A to make a hem. I did a one inch hem.
When you get to the corners you're going to want to make them peak like so:
 |
| Corners of piece A |
 |
| Nice and flat! |

I don't know what it's called but it's similar to my overlock stitch and it looks like this on fabric:
 |
| Super overlock, maybe? |
Pin and sew!

Next I attached my four piece C's to the corresponding sides on the two piece B's like so:

Then pin the two piece D's to their corresponding sides on the two B pieces.
 |
| D Pinned to B |
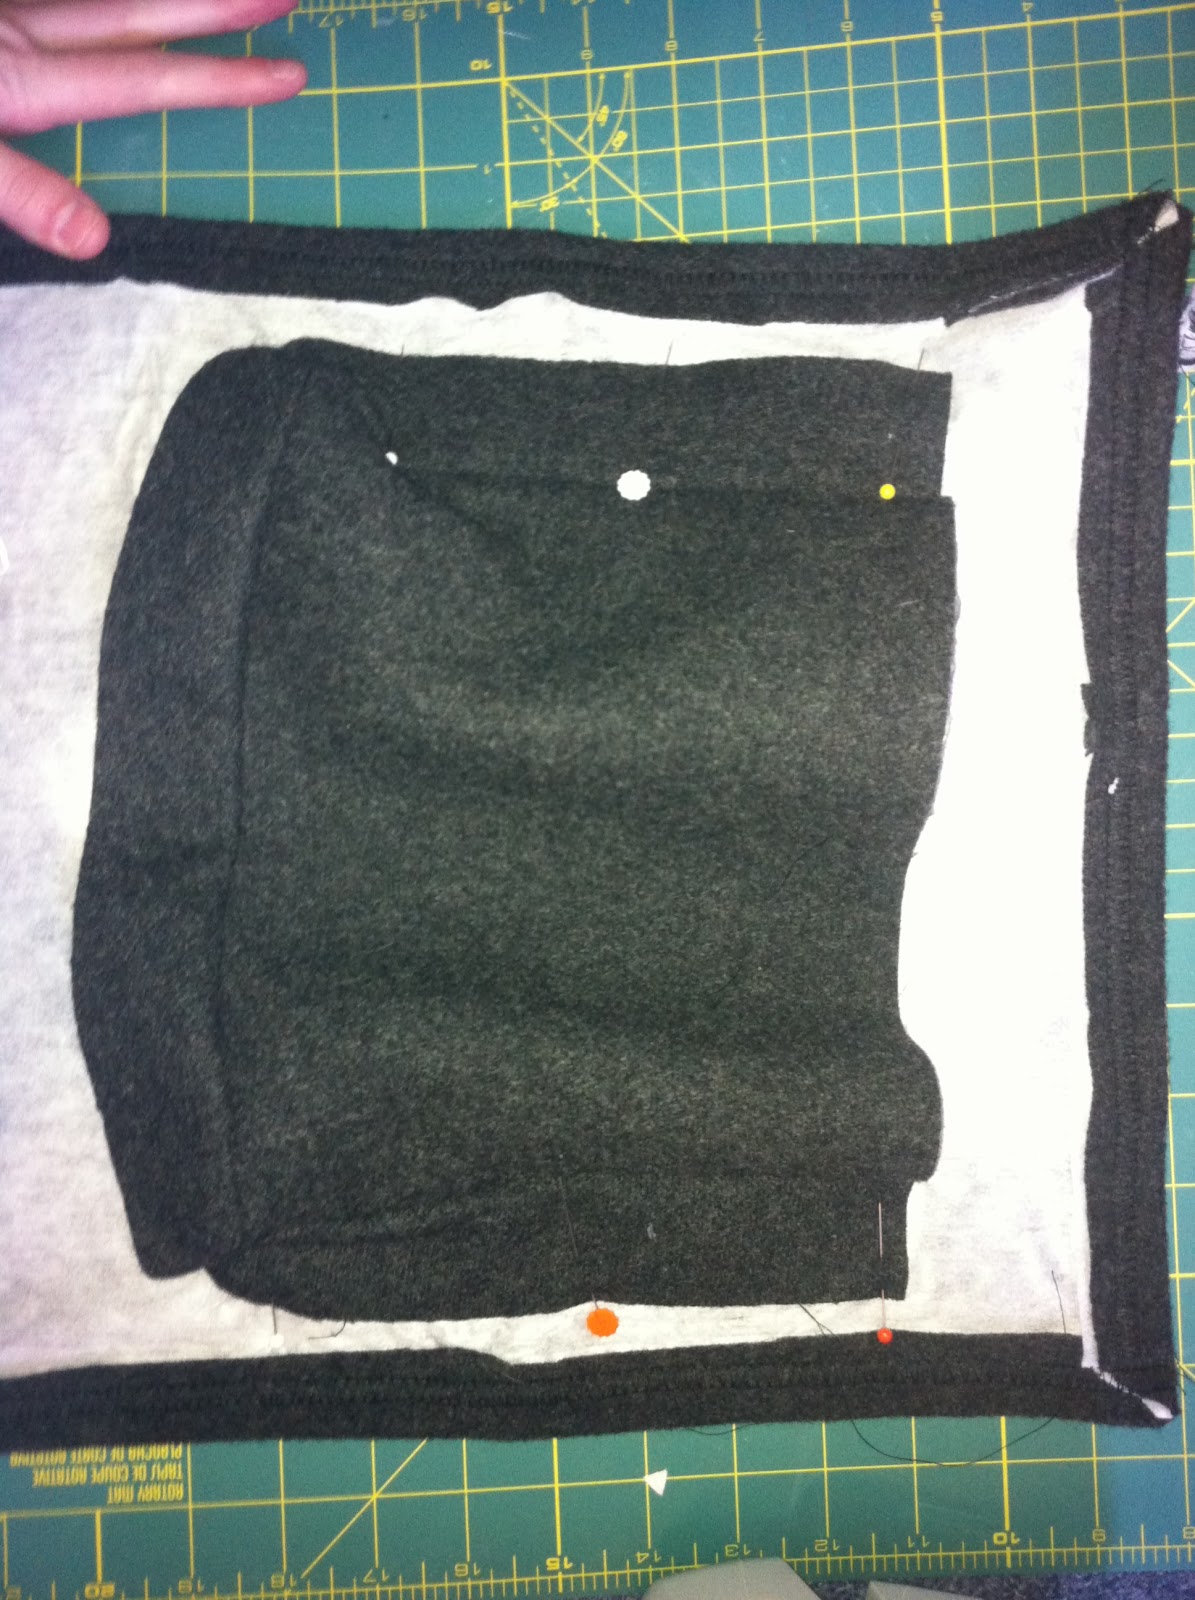
Now this part is a teeny bit tricky. You want to sew piece D to piece C where the edges meet up. Pin them together like so:

So once you've sewn C to D all four times you should have two laptop-sized pockets. Congrats! If you're a worry wart like I am, slip your laptop into these pockets to make sure it fits.
 |
| Pockets! |
 |
| Pockets in place |
Make sure each pocket opens up toward it's corresponding hem like shown in the picture. Otherwise, when you fold up this bag your laptop will be trapped inside! No one wants a suffocated laptop.
Pinning and sewing these suckers can be tricky. I'm not gonna lie, they gave me real issues, but this is what I managed to do. First I measured how long piece C was from edge to seam.
 | |
| C: edge to seam |
It was about an inch and a half. So, using that measurement, I pinned the edge of piece C an inch and a half in from the hem of piece A. on both sides
 | ||||
| Pinning the sides of the pockets |
Do that for the sides of both pockets and sew them down.
 |
| Pockets pinned, ready to have their sides sewn. |
Now for the bottoms of the pockets. Measure from the top of your bag to the seam where B and D are joined. For me that was about 13".
Pin the bottom edge of the pockets however many inches from the top you measured. (So I pinned the bottom of my pockets 13" from the top because that was my measurement from top to seam.)
 |
| Bottom edges pinned. |
Now stitch them down.
That's the gist of how the inside is going to go. Slip your laptop in and make sure it fits!
If you want, stitch up the middle of one of the pockets to divide it into smaller pockets for your laptop gadgets (charger, mouse, et cetera) like so:
 |
| Pocket divided! |
Time for detail work! Fold your bag in half as if it were already finished and mark two inches from the top and two inches from the bottom. Then add another mark directly between the two you just made like so:
 | |
| 2" from the top! |
 |
| And 2" from the fold! |
 |
| I don't have my middle marks, oops! |
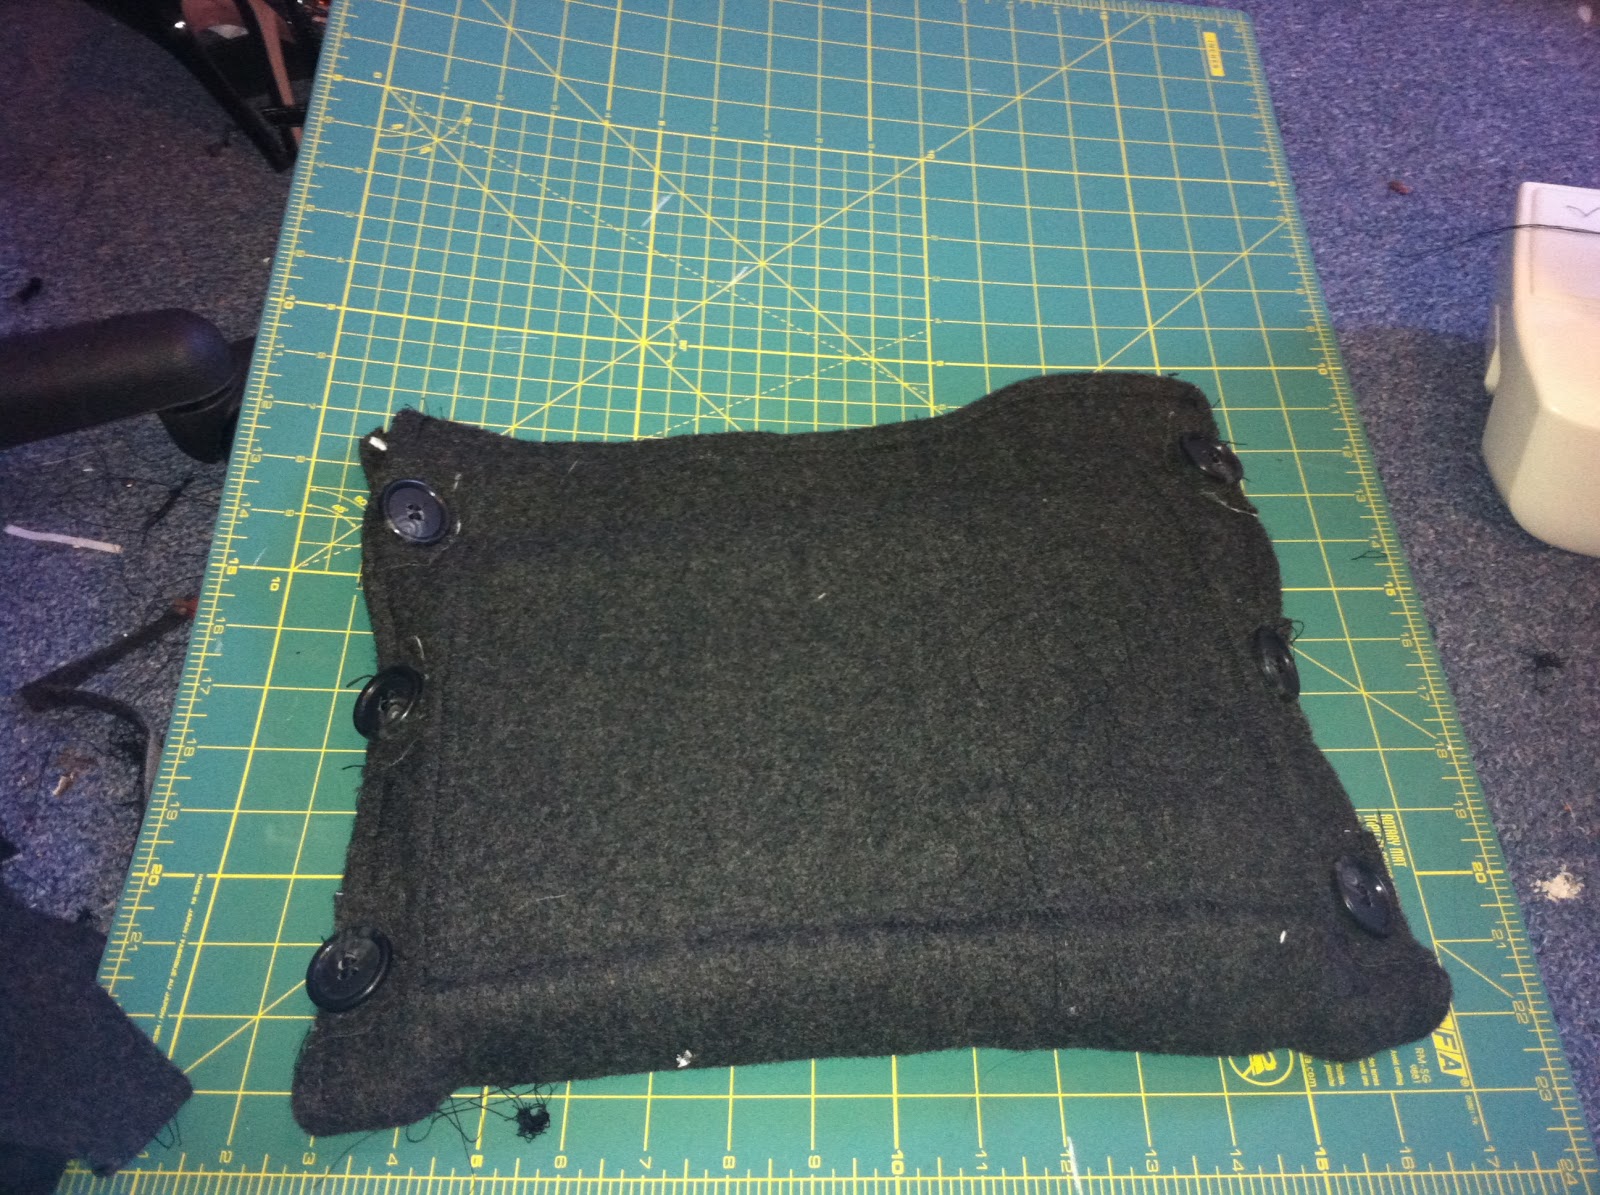 | |
| All buttoned up! |
You're almost done! Now we just need to make the handles!
Cut your E pieces to whatever length/width you want (don't forget your seam allowances!) and pin two of them together with the right sides facing each other like so:

Now press or topstitch the edges of your handles (I topstitched).
 |
| Top stitching! |
Pin them to your bag where you think you want to go and put your bag over your shoulder. Everything seem okay? Got the length right? Good! Stitch it down. (I used the "super overlock" again for this part.)

Once you've done that go ahead and trim all those pesky threads that you know you missed before, load up your bag, and rock on. Your laptop can now travel in style!
In the immortal words of Tigger: TTFN! Ta-ta for now!
Happy Crafting!
-Rae