|
| Isn't She Stunning? |
 |
| Aren't they cute? |
So do you want to make a pair, too? Of course you do! Why else would you have read this far? So let's get on with it!
What you need:
»Needle & Thread (White)
»Glue
»Earmuffs that go behind your head (Black)
»Stiff Feathers (Turkey Flats)
»Smaller Feathers (Turkey Quills)
»Felt
»Gemstones
»Glitter (Optional)
 | |
| STUFF! |
Seems like a lot of stuff, eh? Yeah, it is. I bought everything (except the earmuffs) at Michaels, so I found I needed two packages of the turkey flats, but was fine with just one package of the quills. I also only needed one square of white felt (even though I bought two just in case). I also already had glitter and gemstones on hand from earlier projects, so that helped keep costs down. The earmuffs, however, cost me a pretty penny at $18 from JCPenny, so if you can find someone to donate a pair to you, or if you didn't care about black ones like I did, look for a cheaper pair.
Anyway, enough rambling. Let's get going!
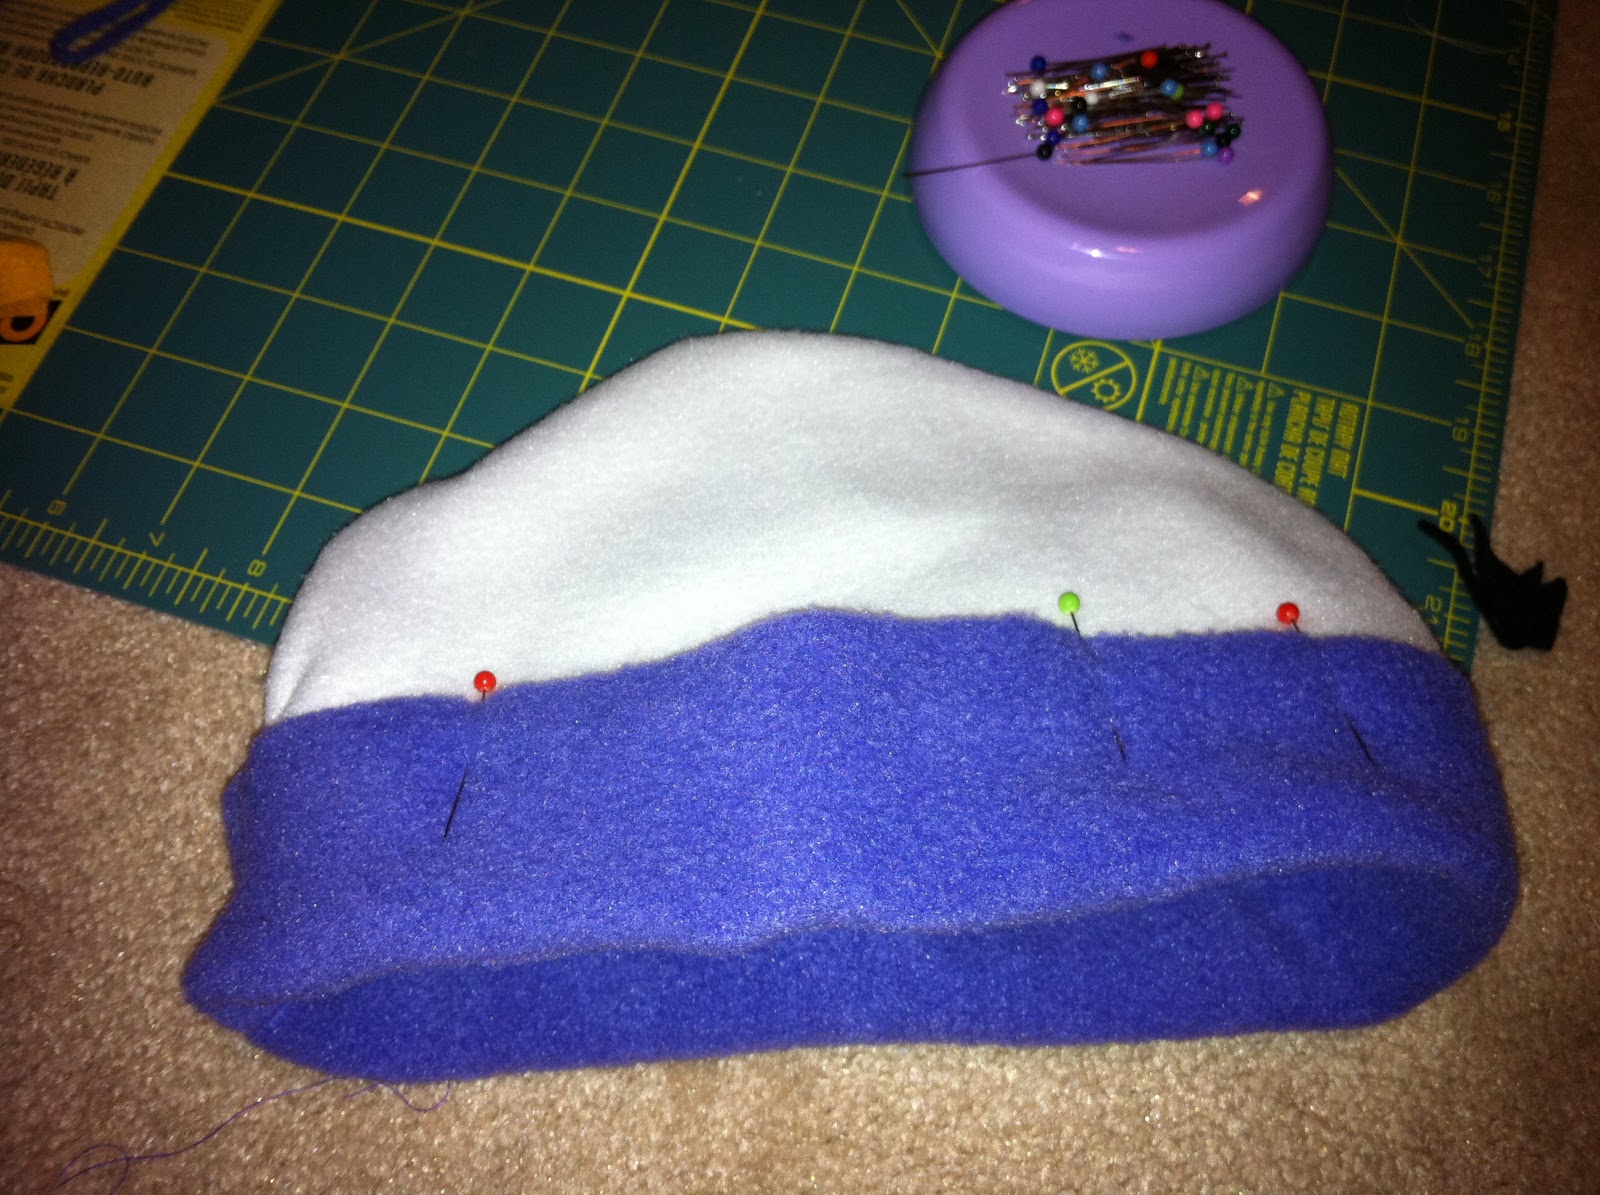
So the first thing I did was cut two teardrop type shapes out of my felt.

Now pin these to your earmuffs so the points aim toward the base of your skull.
 | |
| Yes, this is wrapped around my leg. |
And sew it down using any stitch you like. I used the whip stitch. Take care not to go through both layers of the earmuffs. You don't want to feel all of that stitching against your ears!

Fantastic! It's not the prettiest thing in the world, but we'll be covering it up anyway. This is just to give the illusion of more feathers than we're actually going to use.
Now comes the fun part! Take a turkey flat, cut it to the size you need for your earmuff, and sew it on to the felt. I used Elmer's glue-all on the spine of the feather in addition to sewing it down at about four points. Like so:

Now, as you can tell, that one is still too long. After sewing it, I cut it down further. Always make sure to cut it into a point. The earmuffs are like a teardrop shape, so cut your feathers to reflect that.
Now that you have your first feather down (hooray!) start cutting and placing two more (One on either side of the central feather) like this:

And trim them to round out the shape a bit. We don't want lumpy swan feathers!
Once you feel those feathers are secure enough/the glue is dry enough (I didn't wait for the glue to dry since I had sewn my down enough) it's time to add the little feathers! Now, be careful when you open the bag of these. They will fly everywhere. They will stick to you. You will get feather in your mouth. Accept this as truth.
Have you accepted it? Good! Now we can start sewing and gluing the smaller feathers the same way we did with the bigger ones. Work from the middle to the outside.
 |
| One feather... |
Keep going! I'm cheering for you!
 |
| It's coming together! |
Trim the fluffiness down to that teardrop shape if you need to. I know I did. My feathers had a mind of their own.
Now for the shiny bits!
I used glue because I couldn't think of a way to sew these down. I had toyed with the idea of bedazzling it, but I didn't want to feel those metal backs against my head. However, if you know of any other way that might work, by all means try it! And please comment, I'd love to know your ideas. Anyway, put gemstones down however you'd like. I like to be uniform so I went for a sort of grid style:

Here is where you can add glitter or glitter glue if you want. I had intended to, but ultimately changed my mind because I hate how glitter gets on *everything* I own.
And let it dry! I had a glitter ball from borders that I wrapped these around while they dried. But anything would work. Large soda bottle, harry potter book, your own leg. Even the back of your computer chair!
Now repeat on the other side, and wear with pride!


Now you're a famous ballerina! Go forth and dance like the swan that you are! And don't fall on your face like I did.
Until next time!
Happy Crafting!
-Rae