
Even though there isn't anyone reading this, yet, as this is my very first post.
So to all of you not-readers, hello! I call myself Rae.
I figure I'll use this little forum to chat with you all about crafting-related things.
So we might as well get the ball rolling! The first thing I thought I'd share with your is my DIY doll eyes!
What you're gonna need is as follows:
- Clay: I used Sculpey so I could cook it in my oven. I used the colors I needed for my eyes, but I think next time I will just use white clay and paint the eyes onto the clay after the fact.
- Paint: If you want to paint the eyes on after the fact.
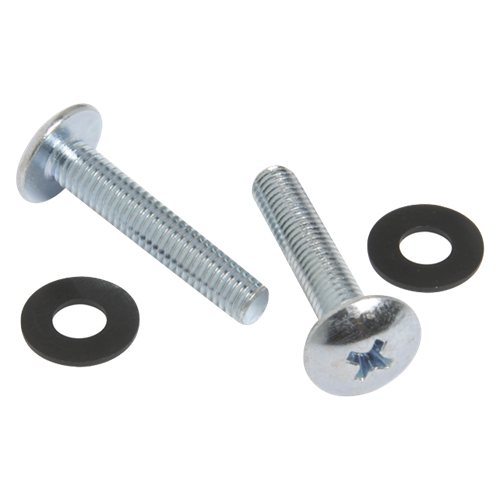
- Bolts: They look like this-> *Click This* Basically a screw with a flat bottom. I used two 10-32 bolts, but feel free to use whatever you think will work best.
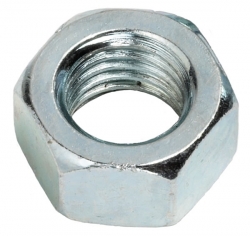
- Nuts: They Look like this-> *Click This* DO NOT BUY A LOCKING NUT!!! It will not work for what we want to do here. Again, I used a 10-32 nut, but you should use whatever size will fit your bolt.
- Washer: They look like this-> *Click This* I tried to find one that was almost as big as the clay eyes I was making without having the hole of the washer be bigger than then nut. Again, make sure your washer will fit on your bolt, or you will be sad, and have to look for more washers.
- Glaze: I used a clear acrylic paint, but I didn't actually like how it turned out, so I'll get back to you if I find something I like better in the future.
Okay! D'you have all of that? You do? Yay! Let's get started then!
Now unfortunately I didn't take pictures when I did this, so I'm going to try to get this across to you the best I can. Basically, with our clay and the bolt, we will try to simulate how an acrylic doll/stuffed animal eye works. So, in case you don't know, an acrylic eye (also called a safety eye) looks something like this:
 | |||||||||
| Safety Eyes! |
And this is basically what we're going to make with your clay and bolt. So what I did was I took my colored clay (I was using red) and I rolled it into a ball. The eyes I wanted were fairly large, so the diameter of my clay ball was about the size of a quarter.
Next I took a knife and cut that ball in half to get the flat bottomed dome shape that safety eyes have. This allows the eyes to rest flush against my stuffed animal's face.
Now doing that kind of messed up my circle shape, so I just smooshed the clay around a bit until I got it mostly back into a circle.
Next I stuck the bolt into the flat side of my clay, and covered the head of it as much as I could with the clay so the bolt couldn't come out. Again, this kind of messed up my dome shape so I had to smoosh it back to normal.
After that I added two white clay dots to my eyes to simulate shine, but design your eyes to fit whatever it is you're making.
Next I put some saran wrap tight over the eyes and smoothed the clay out to remove any finger prints.
Now, bake! Be sure not to over bake your clay. My eyes were 1/4" thick, so the instructions said to bake them for a half an hour, but I ended up only doing 25 minutes because the edges of my eyes were thinner.
Done baking? Good! Don't burn yourself taking them out. Both the clay and the bolt will be hot hot hot! Let them cool until they are a bit cold to the touch.
If you're doing the optional clay-painting, do so now.
Once the paint is dry, if you did that step, put a layer of glaze on your eyes. I ended up taking a shoe box and poking two holes in the top to stick the eyes in while I glazed them. I ended up putting four or five layers of glaze on, because I wanted my eyes to be very shiny, but you do whatever it is that you want.
Once they've dried, you can put them into your stuffed animal! If you've already intuited how to do that, yay for you, but if you haven't then what you do is this:
poke a small hole in your animals head before you stuff him where you want the eye to go and slide the bolt through so the eye is on the right side of the fabric. Then slide the washer up the end of the bolt so it is touching the wrong side of the fabric. The washer will help push the fabric flush against your clay eye. And lastly, screw on the nut (tightly!) to hold everything in place.
Now, if your eyes need to stay facing a specific way (mine did) consider putting just a bit of hot glue on the back of the eye before you screw the washer and nut on. The washer will help hold your fabric in place until the glue is dry. If it doesn't matter, then hooray! You're done!
 |
| This is what my eyes looked like when finished! |
Happy Crafting!
-Rae
No comments:
Post a Comment